How to Choose a Table Top Tray Sealing Machine in 2026?
Choosing a table top tray sealing machine in 2026 starts with the product, not the brochure. A chilled pasta tray, a portion of fresh berries, and a ready-meal container can demand different films, sealing temperatures, and changeover routines. Packaging engineer [Verified Expert Name] captures the core principle: “A reliable seal begins with matching the machine to the tray, film, and product.” This is draft wording, not a verified quotation; confirm the expert and quote before publication.
Start with the details you can measure. Record tray dimensions, material, target output per hour, and the seal type your product needs. Ask suppliers to run your actual trays and lidding film, then inspect seals for wrinkles, leaks, and uneven edges. See the results yourself. A tidy sample on a sales table may not reflect a full production shift.
Compare more than purchase price. Check tooling costs, available change parts, operator training, cleaning access, and local service response. A compact footprint can help in a small workspace, but it may leave little room for loading trays or clearing jams. Be honest about what is still uncertain: future volumes, new pack sizes, or changing film specifications can alter the best choice. This guide explains how to weigh those trade-offs, assess key machine features, and ask suppliers practical questions before you invest in a table top tray sealing machine.
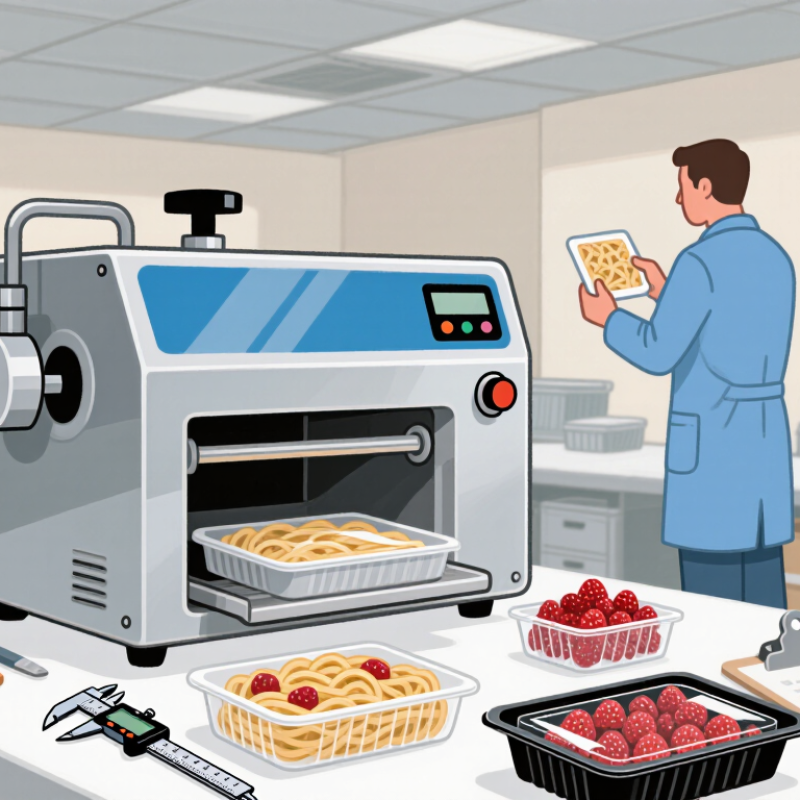
What Is a Tabletop Tray Sealing Machine and How Does It Work?
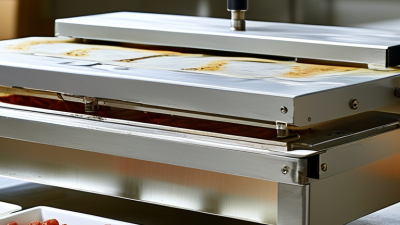
A tabletop tray sealing machine closes a filled tray with a heat-sealed film or lid. The operator places the tray in a mould, lowers the sealing head, and starts a cycle. Heat and pressure bond the film to the tray’s rim; the machine then releases the sealed pack. Depending on the model, film may be cut around each tray, and the atmosphere inside may be modified. The basic process is simple. The details matter.
For a small food producer, the key variables are tray dimensions, sealing-film compatibility, target output, and cleaning time. A seal can look neat and still fail if the rim is wet, warped, or covered with food. Ask for a trial using your actual trays and product, then check seal integrity after cooling and handling. PMMI’s 2023 State of the Industry report valued U.S. packaging machinery shipments at $10.9 billion in 2022, reflecting a substantial and evolving equipment sector. That figure covers many machine types, not tabletop sealers specifically.
Compare cycle time with the full operator workflow, including loading, film changes, and removing finished packs. A fast heating cycle may not mean fast production. It is easy to overlook that. Record seal consistency across several runs, and confirm that temperature and pressure can be adjusted for your materials. A little uncertainty is normal; product trials reveal more than a brochure can.
Which Tray, Film, and Production Needs Should You Define First?
Before comparing machines, define the tray you will actually seal, not just a sample from a brochure. Record its length, width, depth, flange width, and corner shape. Measure several trays; small variations can cause uneven seals. Note whether the tray is PP, CPET, PET, or another material, since heat response and sealing windows differ. Ask your tray supplier for confirmed sealing data.
Then identify the lidding film’s material, thickness, width, and peel requirements. Confirm that the film seals reliably to the tray and suits your product’s moisture or oxygen needs. If printing or a specific opening feel matters, include that in the trial. A neat seal on one sample proves little. Test the actual tray and film together.
Estimate your peak output in trays per minute, not just the daily average. Count changeovers, cleaning time, and how often operators will load trays by hand. Check the machine’s usable sealing area against your tray layout, along with available space, power, and compressed air. I would leave some capacity margin, though the right amount depends on your schedule. These details are easy to guess—and easy to regret later.
How Do Sealing Methods and Machine Specifications Compare?
A table-top tray sealer can use simple heat sealing or modified-atmosphere packaging. Heat sealing bonds compatible film to a tray rim with controlled pressure, temperature, and dwell time. It suits products that do not need air removed or replaced. MAP models add gas-flushing equipment, which can help manage oxygen exposure for suitable foods. The right choice depends on product, film, tray material, and storage goals—not just the machine’s advertised speed.
Compare specifications against real production needs. Measure the tray’s outer dimensions and rim width, then confirm the tooling supports that exact format. Check temperature adjustment, sealing pressure, cycle time, electrical supply, and whether compressed air is required. A quoted cycle rate may assume an experienced operator and steady loading. Small details matter. Film roll width and changeover time can affect a shift more than a few extra cycles per minute.
Ask for a trial using your own trays, film, and product. Inspect the seal for wrinkles, gaps, or uneven bonding, and test samples after handling. For MAP, verify that the gas-flush option matches the package design and your process requirements. I would not choose a faster machine based on a demonstration alone; demonstrations rarely show every awkward changeover. A basic model may be enough, though manual loading can become tiring during longer runs.
What Safety, Hygiene, and Operating Features Should You Check?
A table top tray sealing machine should protect the operator without making routine work awkward.
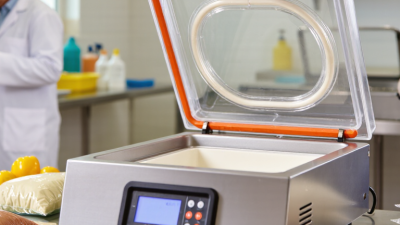
Check for a stable lid, a clear hand area, and a guard that reduces contact with the heated platen. An emergency stop should be easy to reach, not hidden behind the machine. Look for temperature controls that hold a steady setting and an alarm for faults or overheating.
Small details matter. A hot platen can cause burns during hurried loading.
Hygiene depends on surfaces and access.
Choose a design with smooth, corrosion-resistant food-contact parts and few gaps where sauce or crumbs can collect. Removable tooling can make cleaning easier, but confirm that staff can take it apart and reassemble it correctly. Check whether the machine’s instructions explain cleaning, cooling, and safe tool changes.
Still, check the manual.
A surface that looks clean may hide residue around the sealing frame.
Operating features should match the trays, film, and daily production volume you expect to use.
Useful controls include adjustable sealing temperature, dwell time, and pressure, plus clear indicators when the cycle is complete. Ask how quickly settings can be changed and whether the machine can store common recipes.
More settings are not always better; confusing controls invite mistakes.
If possible, observe a full cycle with your own tray size, and note how easily an operator can load, seal, and remove each tray.
How Can You Evaluate Total Cost and Choose the Right Model?
A table top tray sealer’s purchase price is only the starting point.
Compare total cost over three to five years: film use, rejected seals, labor, cleaning time, maintenance, spare parts, and changeover work. The U.S. Energy Information Administration’s Electric Power Annual reports industrial electricity prices at roughly 8 cents per kilowatt-hour in 2023. At that rate, a machine averaging 1 kW for 2,000 hours uses about $160 of electricity yearly. Measure actual power draw, though; heater cycles and idle time change the result. Small differences matter.
Ask suppliers to run your trays and film, not just quote a rated output. Record seals per minute, setup time, and rejects across several runs. A model with more capacity may cost more upfront but could reduce labor per pack. Or it may sit idle. PMMI’s industry reporting on packaging operations highlights ongoing pressures around labor and equipment efficiency; treat those as operating questions, not reasons to buy the largest unit. Check whether standard molds fit your tray sizes, and price additional tooling before signing.
Build a simple cost-per-good-pack estimate using your expected weekly volume. Include operator minutes and a realistic allowance for downtime. A short production test helps. Still, estimates miss things: cleaning access, awkward film loading, or a mold that takes longer to change than expected. Ask for maintenance intervals, parts availability, and warranty exclusions in writing. Then compare the machine that fits your actual shift, not an ideal one.